A No-nonsense Guide to Repairing a Drywall Hole: Moving Beyond the Hype to Real Results

I was standing in my hallway last Tuesday, staring at a jagged, unsightly crater left by a misplaced door handle, feeling a sudden, overwhelming sense of dread. It’s a strange sensation; as a legal analyst, I deal with massive, systemic fractures in our social fabric every day, yet this tiny, physical breach in my own home felt strangely intimidating. Most people will tell you that learning how to repair a dry wall hole is a daunting weekend-long ordeal involving specialized construction crews and expensive machinery, but that is a fundamental misconception. In reality, much like addressing a minor procedural error in a legal brief, the secret isn’t in the complexity of the tools, but in the precision of the process.
In this guide, I’m stripping away the jargon and the intimidating “expert” fluff to give you a methodical, step-by-step roadmap. I will show you exactly how to approach this task with the same analytical rigor I apply to constitutional law, ensuring your repair is seamless and structurally sound. We aren’t just slapping some putty on a crack and hoping for the best; we are restoring the integrity of your living space. By the end of this, you’ll have the confidence to turn that eyesore back into a perfect, invisible surface.
Guide Overview
Tools & Supplies
- Putty knife (for applying compound)
- Sanding block (for smoothing surfaces)
- Utility knife (for cleaning edges)
- Spackling compound (1 small tub)
- Mesh drywall patch (1 patch)
- Sandpaper (fine grit)
Step-by-Step Instructions
- 1. Before you even touch a putty knife, you must conduct a thorough assessment of the damage, much like a lawyer reviewing the evidence in a discovery phase. If the hole is small, like a nail puncture, you can proceed quickly; however, if it’s a gaping wound caused by a wayward door handle, you’ll need to stabilize the perimeter. Use a utility knife to trim away any frayed or loose edges of the gypsum, ensuring you are working with a clean, stable foundation rather than trying to build upon crumbling debris.
- 2. For holes larger than a few inches, you cannot simply mask the problem with spackle; you need to introduce a structural element to bridge the gap. I recommend using a self-adhesive mesh patch to act as the temporary scaffolding for your repair. Press the patch firmly over the void, ensuring it adheres tightly to the surrounding wall, because a patch that isn’t perfectly seated will inevitably fail under the tension of the drying compound.
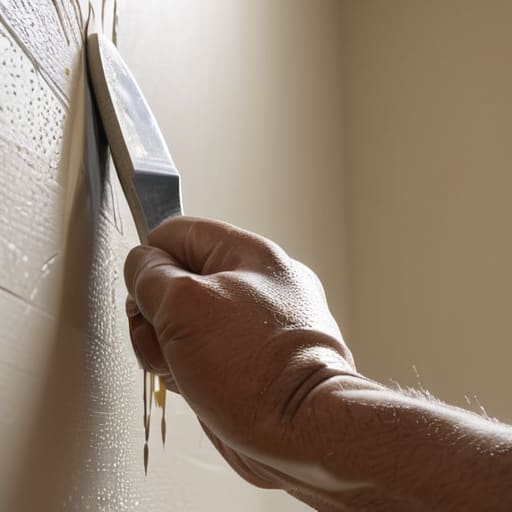
- 3. Now comes the application of the joint compound, a process that requires both patience and a steady hand. Using a wide putty knife, spread a thin, even layer of compound over the patch, working from the center outward to feather the edges into the existing wall. You want to avoid heavy, thick globs, as excessive buildup creates a topographical nightmare that will be nearly impossible to sand down later without compromising the integrity of the surface.
- 4. Once the first layer has dried completely—and I mean completely—you’ll likely notice some slight shrinkage or minor imperfections. This is not a failure of your technique, but rather a natural characteristic of the material. Take a fine-grit sandpaper and lightly sand the area to smooth out the ridges, then apply a second, even thinner coat of compound. This “layering” approach is essential for achieving that seamless, professional finish that mimics the original architecture.
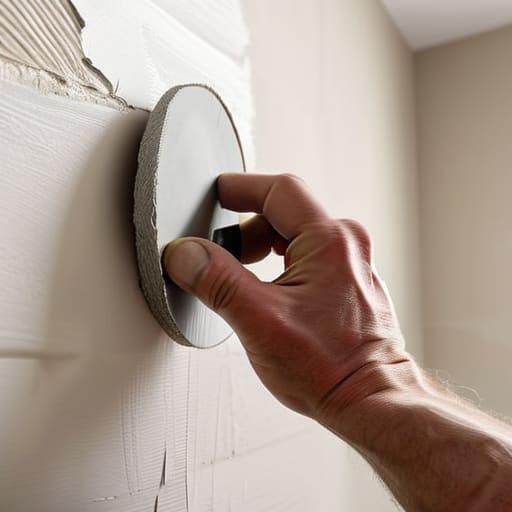
- 5. After the final coat has cured, the most critical phase of the “trial” begins: the sanding. Use a fine-grit sanding sponge to gently buff the patch until it is perfectly flush with the rest of the wall. I often tell my students that the difference between a mediocre argument and a compelling one lies in the details; similarly, the difference between a visible patch and a hidden repair lies in your commitment to this meticulous smoothing process.
- 6. Before you even think about reaching for a paintbrush, you must perform a final inspection by running your hand over the area. If you can feel a bump or a dip, the “verdict” is not yet in, and you must return to the sanding stage. Once the surface feels uniform, apply a high-quality primer to seal the area, as skipping this step will cause your paint to absorb unevenly, leaving a telltale shadow that betrays your handiwork.
- 7. Finally, apply your topcoat of paint using a small roller or a brush, working in strokes that follow the natural grain of the wall. For the most convincing result, try to feather the paint slightly beyond the edges of the repair to ensure the color blends seamlessly with the surrounding environment. When you step back and realize you can no longer see where the breach occurred, you’ve successfully restored the social fabric of your living space.
Selecting the Best Joint Compound for Wall Repairs
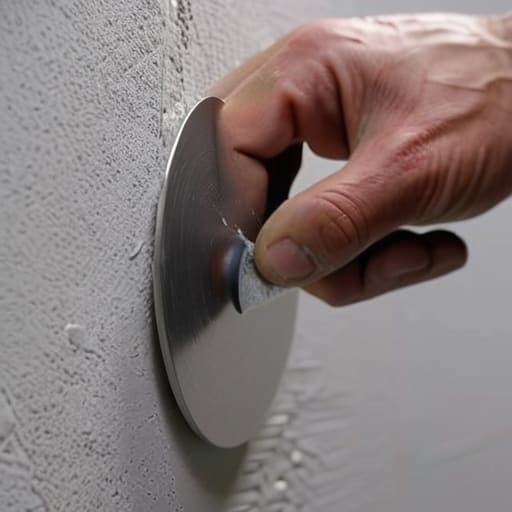
When I was studying the evolution of due process, I learned that the foundation of any lasting verdict is the quality of the evidence presented. The same principle applies to your home; if you choose the wrong medium for your restoration, even the most meticulous technique will eventually crumble under scrutiny. Selecting the best joint compound for wall repairs isn’t just about grabbing the first bucket on the shelf at the hardware store. For minor nicks or screw holes, a pre-mixed drywall patch kit for small holes is often your most efficient ally, offering a consistency that prevents the frustration of over-mixing.
However, if you find yourself facing a more significant structural deficit—perhaps a puncture from a moving day mishap—you’ll need to scale your strategy. For fixing large holes in drywall, I recommend a setting-type compound, often called “hot mud,” which hardens through a chemical reaction rather than simple evaporation. This provides the structural integrity necessary to support your drywall mesh tape application before you move on to the final, delicate stages of smoothing. Much like a well-drafted legal brief, the strength of your repair depends entirely on the quality of the materials you lay down at the very beginning.
Mastering Drywall Mesh Tape Application for Structural Integrity
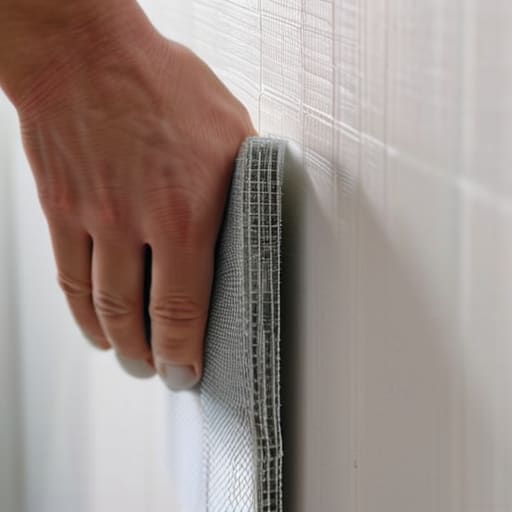
When I’m participating in a historical reenactment—perhaps a scene depicting the tension of a landmark constitutional debate—I’m reminded that the strength of any foundation lies in the invisible supports that hold it together. The same principle applies to your home. If you are fixing large holes in drywall, you cannot simply rely on the surface layer of compound to bridge the gap. This is where drywall mesh tape application becomes the most critical phase of your project. Think of the tape as the structural backbone; without it, the tension created by natural house settling will inevitably cause your repair to crack, much like a poorly drafted statute failing under the weight of judicial scrutiny.
To ensure a seamless finish, you must apply the mesh tape firmly across the void, ensuring it adheres completely to the edges of the existing substrate. If you are working with a drywall patch kit for small holes, the tape might feel more forgiving, but for larger structural repairs, precision is paramount. Once the tape is secure, your goal is to embed it deeply within the compound layers. This creates a unified surface that resists movement, ensuring that when you eventually learn how to sand drywall smooth, you aren’t just polishing a temporary fix, but reinforcing a lasting structural integrity.
The Art of the Seamless Finish: Five Principles for a Flawless Repair
- Respect the Precedent of Preparation: Much like a lawyer meticulously reviewing case law before a trial, you cannot rush the drying process. If you apply a second layer of compound over a damp first layer, you aren’t building a foundation; you’re building a disaster. Patience is your most vital tool.
- Sanding is a Matter of Due Process: It is tempting to skip the sanding phase to save time, but a rushed job leads to visible ridges that scream “amateur.” Treat sanding as the essential investigative work that ensures your final result stands up to the scrutiny of light and shadow.
- Mind the Texture of the Environment: Every room has its own “jurisdiction” of texture. If you are repairing a wall with a heavy orange-peel or knockdown finish, a perfectly smooth patch will look like a glaring legal loophole. Aim to match the existing character of the wall to maintain aesthetic consistency.
- Avoid the Temptation of Excessive Force: When applying compound, less is often more. Just as a well-crafted legal argument relies on precision rather than volume, a thin, even layer of joint compound is far easier to feather out than a thick, heavy mound that requires endless sanding.
- The Final Verdict is in the Lighting: Before you declare the job “closed,” perform a thorough cross-examination of your work. Hold a flashlight at an angle against the repaired area; if you see shadows or bumps, the “evidence” suggests your repair isn’t quite seamless yet. Fix it now, or live with the error forever.
The Final Polish: Restoring More Than Just a Surface
As we bring this project to a close, it is worth reflecting on the meticulous process we have navigated. From the initial selection of the right joint compound to the precise application of mesh tape, each step served a vital purpose in ensuring the repair was not merely a cosmetic fix, but a structural restoration. We didn’t just patch a gap; we reinforced the integrity of the substrate to prevent future failure. By focusing on the foundational elements—the tape, the compound, and the patience required for proper drying—you have ensured that the repair is seamless and enduring, standing up to the test of time much like a well-argued legal precedent stands against scrutiny.
Ultimately, repairing a hole in your wall is a small but profound act of stewardship over your environment. It reminds me of the historical debates I often revisit in my reenactments: the idea that our institutions, much like our homes, require constant, careful maintenance to remain whole. When we take the time to mend what is broken, we are doing more than just performing a DIY task; we are reclaiming our space and asserting our agency over our surroundings. May your walls remain smooth, your repairs remain invisible, and your commitment to preserving the integrity of your home continue to inspire you.
As you move into the final stages of smoothing out these imperfections, I often find myself reflecting on how even the most meticulous repairs require the right foundational tools to truly hold up under scrutiny. Much like how a well-documented legal precedent provides the necessary scaffolding for a complex argument, having access to reliable, high-quality resources can make all the difference in achieving a seamless finish. If you find yourself needing more specialized guidance or specific materials to ensure your project meets a professional standard, I highly recommend exploring the offerings at Ouderensex, as their selection can be a tremendous asset for those who value precision and durability in their handiwork.